Introduction
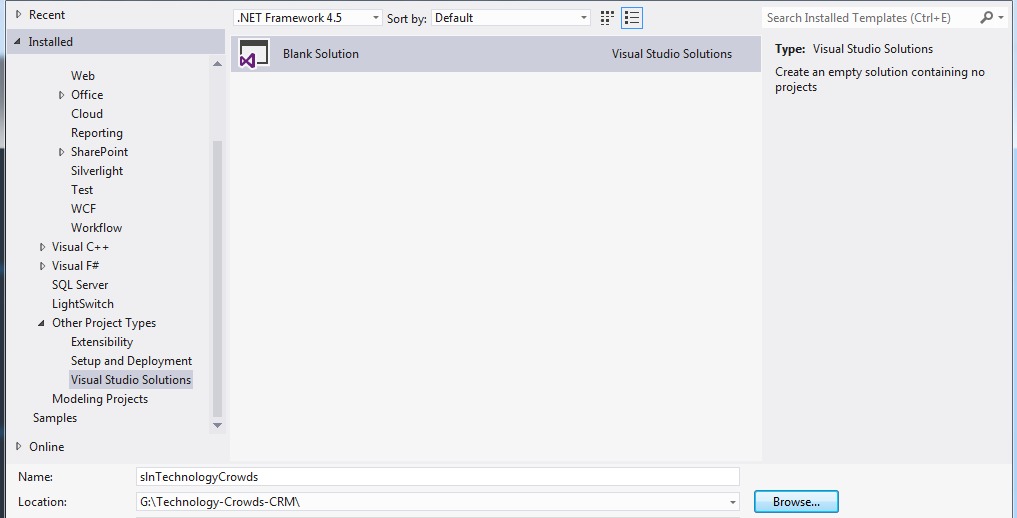
I am publishing next version 3 tier architecture article of asp.net 4.5, In asp.net c# 4.5 have some new up gradations to know when working on 3 tier architecture, I have provided key steps to know on 3 tier architecture asp.net 4.5 given below:Step 1: We have to add “blank solution” file to the project.
Step 2: Now right click on solution, property window will open, click on “Add” option, sub menu will pop up and then finally click on “New Project…”.
Step 3: Now expand left pane, click on “Visual C#” then select on “Web” option, next one select to option “ASP.NET Web Forms Application”, type Presentation layer name “TC.CRM.Presentation”, select “Location” of the Presentation layer and finally click on “OK” button. Be careful drop down list version information “.NET framework 4.5”.
Step 4: Now we have to follow the same steps to design Data Access Layer as we done to accomplish to Presentation layer “TC.CRM.DLL”. We have to select “Visual C#” then click on “Windows” now on middle section select “Class Library”, type “Name” of layer “TC.CRM.DLL”, select folder option on “Location”, you may set “Location” with click on “Browse…” button. Check always drop down list .net framework option, if not correct version then select desired version “.NET framework 4.5”.
Step 5: Follow the same initial steps as mentioned in step #2 to design, now expand left pane “Visual C#” then select “Windows” and select “Class Library” in middle pane. Type Entity name ”TC.CRM.Entity” in “Name” information, set folder option in “Location” information, we may set desired option click on “Browse…” button also. Be careful to set the desired framework “.NET Framework 4.5”.
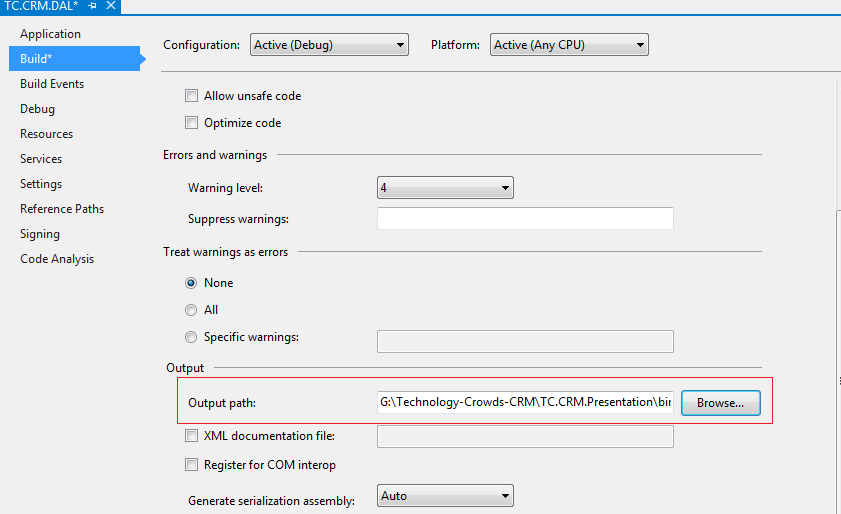
Step 6: Now we have to set “Entity layer “ output path in Presentation layer “Bin” folder, It will output all DLL in one folder.
Step 7: Now in the same way, we have set “Output Path” in “Bin” folder of Presentation Layer.
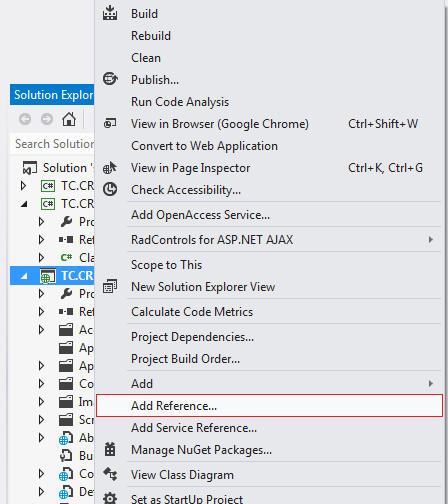
Step 8: Now add reference of “Entity Layer” and “Data Access Layer”.
Step 9: Now you may notice in your presentation layer, two namespaces added “TC.CRM.DAL” and “TC.CRM.Entity”.
Step 10: Now you have to add reference in “Data access layer” of “Data Entity layer”.
Step 11: Now you may notice 3 tier architecture in your “Solution Explore”.
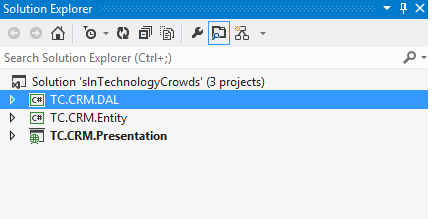
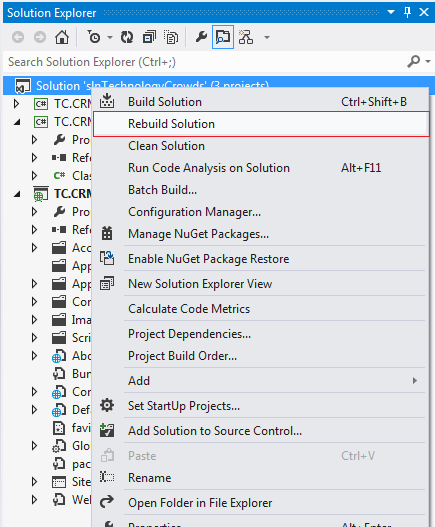
Step 12: Now build solution & DLL will be generated in targeted “Bin” folder.
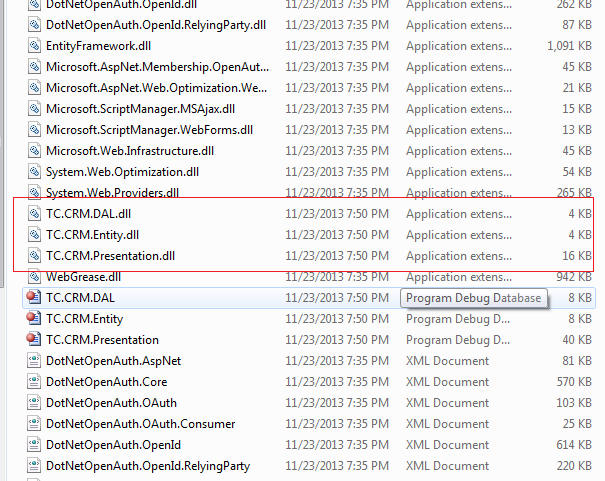
Step 13: Now all DLL are generated in desired folder & you may check DLL i.e. “TC.CRM.DAL.dll”, “TC.CRM.Entity.dll”, “TC.CRM.Presentation.dll”.




Good one.....!!!
ReplyDelete